exam questions

Exam AZ-303 All Questions

View all questions & answers for the AZ-303 exam

Exam AZ-303 topic 5 question 36 discussion

Actual exam question from Microsoft's AZ-303
Question #: 36
Topic #: 5
[All AZ-303 Questions]

SIMULATION -
Click to expand each objective. To connect to the Azure portal, type https://portal.azure.com in the browser address bar.


When you are finished performing all the tasks, click the `˜Next' button.
Note that you cannot return to the lab once you click the `˜Next' button. Scoring occur in the background while you complete the rest of the exam.

Overview -
The following section of the exam is a lab. In this section, you will perform a set of tasks in a live environment. While most functionality will be available to you as it would be in a live environment, some functionality (e.g., copy and paste, ability to navigate to external websites) will not be possible by design.
Scoring is based on the outcome of performing the tasks stated in the lab. In other words, it doesn't matter how you accomplish the task, if you successfully perform it, you will earn credit for that task.
Labs are not timed separately, and this exam may have more than one lab that you must complete. You can use as much time as you would like to complete each lab. But, you should manage your time appropriately to ensure that you are able to complete the lab(s) and all other sections of the exam in the time provided.
Please note that once you submit your work by clicking the Next button within a lab, you will NOT be able to return to the lab.

To start the lab -
You may start the lab by clicking the Next button.
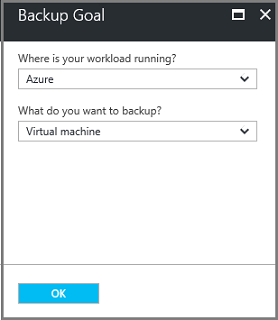
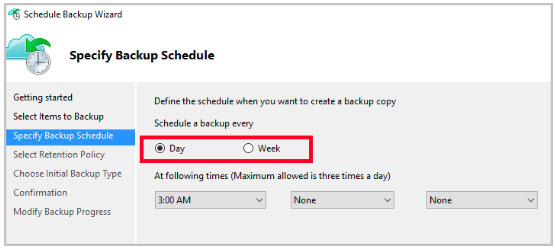
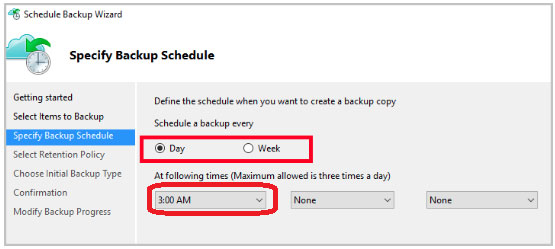
You plan to back up all the Azure virtual machines in your Azure subscription at 02:00 Coordinated Universal Time (UTC) daily.
You need to prepare the Azure environment to ensure that any new virtual machines can be configured quickly for backup. The solution must ensure that all the daily backups performed at 02:00 UTC are stored for only 90 days.
What should you do from your Recovery Services vault on the Azure portal?

Show Suggested Answer Hide Answer
Suggested Answer: See explanation below.
Task A: Create a Recovery Services vault (if a vault already exists skip this task, go to Task B below)
A1. From Azure Portal, On the Hub menu, click All services and in the list of resources, type Recovery Services and click Recovery Services vaults.
If there are recovery services vaults in the subscription, the vaults are listed.
A2. On the Recovery Services vaults menu, click Add.
A3. The Recovery Services vault blade opens, prompting you to provide a Name, Subscription, Resource group, and Location
Task B.
B1. On the Recovery Services vault blade (for the vault you just created), in the Getting Started section, click Backup, then on the Getting Started with Backup blade, select Backup goal.
The Backup Goal blade opens. If the Recovery Services vault has been previously configured, then the Backup Goal blades opens when you click Backup on the
Recovery Services vault blade.
B2. From the Where is your workload running? drop-down menu, select Azure.
B3. From the What do you want to backup? menu, select Virtual Machine, and click OK.

B4. Finish the Wizard.
Task C. create a backup schedule
C1. Open the Microsoft Azure Backup agent. You can find it by searching your machine for Microsoft Azure Backup.

C2. In the Backup agent's Actions pane, click Schedule Backup to launch the Schedule Backup Wizard.

C3. On the Getting started page of the Schedule Backup Wizard, click Next.
C4. On the Select Items to Backup page, click Add Items.
The Select Items dialog opens.
C5. Select Blob Storage you want to protect, and then click OK.
C6.In the Select Items to Backup page, click Next.
On the Specify Backup Schedule page, specify

Schedule a backup every: day -

At the following times: 2.00 AM -

C7. On the Select Retention Policy page, set it to 90 days, and click Next.

C8. Finish the Wizard.
References:
https://docs.microsoft.com/en-us/azure/backup/backup-configure-vault

Comments

Chosen Answer:
This is a voting comment (?). It is better to Upvote an existing comment if you don't have anything to add.
Switch to a voting comment New
BhargaV
Highly Voted 4 years, 5 months ago
Why to use Azure backup Agent? It can be done easily using Azure portal in Recovery Service Vaults policy. https://docs.microsoft.com/en-us/azure/backup/tutorial-backup-vm-at-scale
upvoted 28 times
levo017
4 years, 4 months ago
Same question here.
upvoted 3 times
...
...
PapaLion
Highly Voted 4 years, 4 months ago
The correct Answer is to configure a BACKUP POLICY on the RECOVERY SERVICE VAULT and associate this policy to VMs
upvoted 14 times
...
edmacoar123
Most Recent 3 years, 6 months ago
No Labs on exam online today 19/11/21.
upvoted 1 times
...
sujitwarrier11
3 years, 6 months ago
this link should be useful https://docs.microsoft.com/en-us/azure/backup/quick-backup-vm-portal
upvoted 2 times
...
Moyuihftg
4 years ago
After creating the Recovery Services vault, you can create a new backup policy or modify the existing DefaultPolicy. Set the schedule to daily 02:00 Coordinated Universal Time (UTC) Set retention of daily backup to 90 days
upvoted 7 times
...
claudio82
4 years, 1 month ago
You should use modify Backup policies
upvoted 2 times
...
nooranikhan
4 years, 3 months ago
The steps though logically similar are actually wrong in the answer. You need to use the portal
upvoted 1 times
...
SriRamS
4 years, 3 months ago
The agent (MARS) part is only for backing up an on-prem server. For an Azure VM, configuring a policy and associating it with one or more VMs would suffice.
upvoted 6 times
...
erms
4 years, 4 months ago
I believe it should be an azure policy
upvoted 4 times
...
Deepbond
4 years, 5 months ago
https://docs.microsoft.com/en-us/azure/backup/backup-azure-arm-vms-prepare
upvoted 4 times
...
Community vote distribution
A (35%)
C (25%)
B (20%)
Other
Most Voted
A voting comment increases the vote count for the chosen answer by one.

Upvoting a comment with a selected answer will also increase the vote count towards that answer by one. So if you see a comment that you already agree with, you can upvote it instead of posting a new comment.

SaveCancel
Loading ...