

Correct Answer:
Answer:
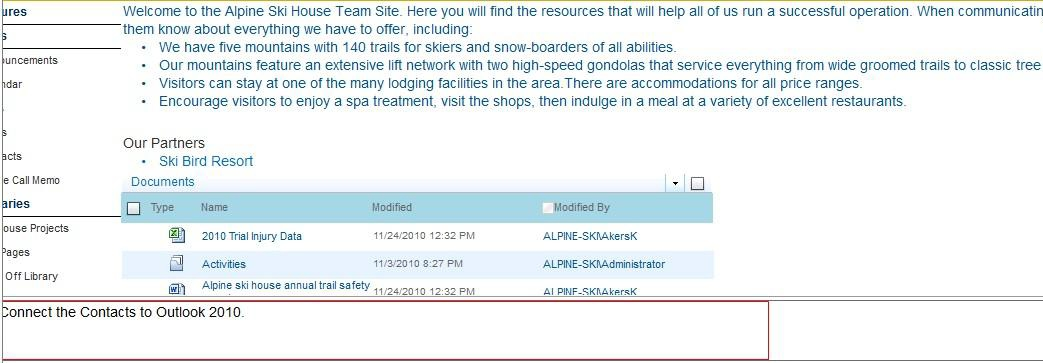
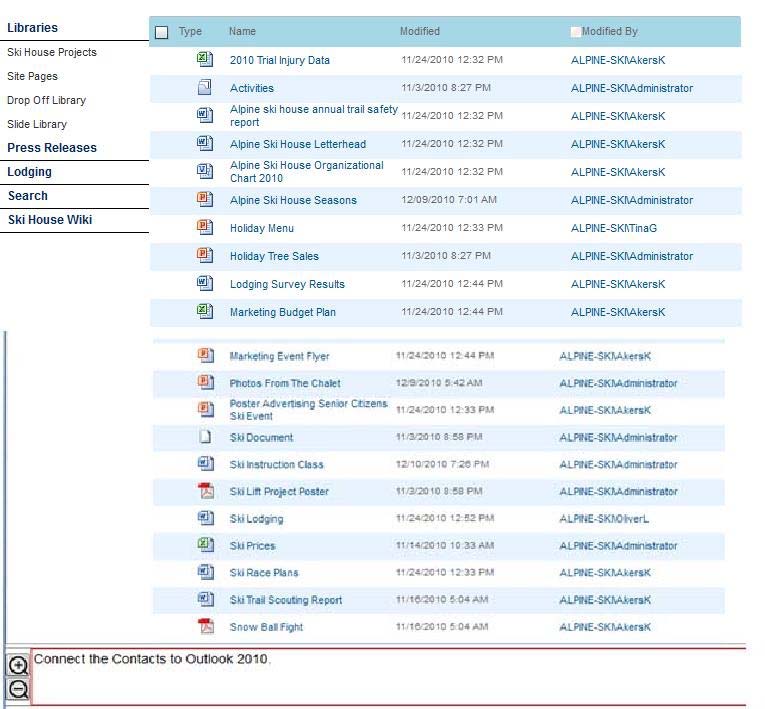
Step 1: Click Site Pages -
Step 2: Click View All Site Content Page
Step 3: Open the List ribbon from the List Tools group. Then in the Connect & Export group, located the command Connect to Outlook.
Note: SharePoint transfers all items from the SharePoint list to the new folder in Outlook.
Reveal Solution Discussion
Correct Answer:
Answer:
Step 1: Click Site Pages -
Step 2: Click on the Site Actions drop-down menu on the upper left of the page. Then select Site Settings.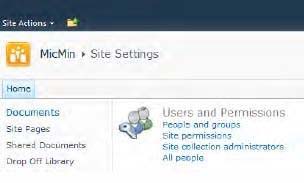
Step 3: From the Site Settings page, select Site Permissions found in the Users and Permissions group of the Site Settings page.
Step 4: Click the Create Group button.
Step 5: On the New Group page, enter a group name Admin Step
6: Grant everyone permission to view group membership. Step
7: Grant group members editing rights by assigning the Design permission. Step
8: Finish creating the group by clicking the Create button at the bottom of the page.
Reveal Solution Discussion
Correct Answer:
Answer:
Step 1: Click Site Pages -
Step 2: Choosing View All Site Content from the Site Actions.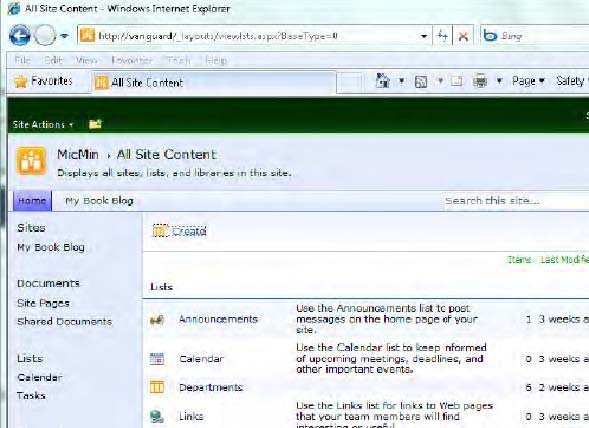
Step 3: Click Announcements. Note: Since you want to add a new announcement, you need to display the Items ribbon in the List Tools ribbon group. The Items ribbon allows you to add new items as well as edit and delete items.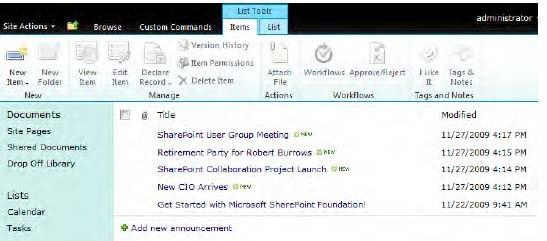
Step 4: Click New Item in the New group to add another announcement (or click Add new announcement). This action opens the edit dialog for the list item, letting you supply the column values for a new item in the list using the same dialog as shown below.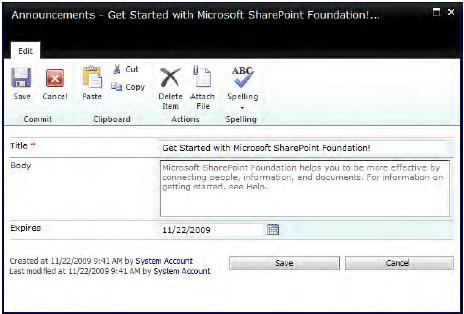
Step 5: Enter Title: Holiday Sales. Set body to: In stock. Set Expires to: June 30, 2011.
Step 6: Click Save.
Reveal Solution Discussion
Correct Answer:
Answer:
Step 1: Click the Ski House Projects (to open it).
Step 2: Go to the library settings and click on Rating Settings in the General Settings section.
Step 3: Enable the "Allow items in this list to be rated" and click OK